Some cushion love…. a mini couch makeover…

alittlepartoftheworld - mini couch makeover

Our couches have been screaming for new cushions for ages now. I found the perfect ones at Pottery Barn

The Brief: I wanted really lovely ones but didn’t want to go to the expense of getting them made as they are for the living room and are constantly used for making oceans, beds and little reading nooks so they had to be reasonably priced, functional and look good…

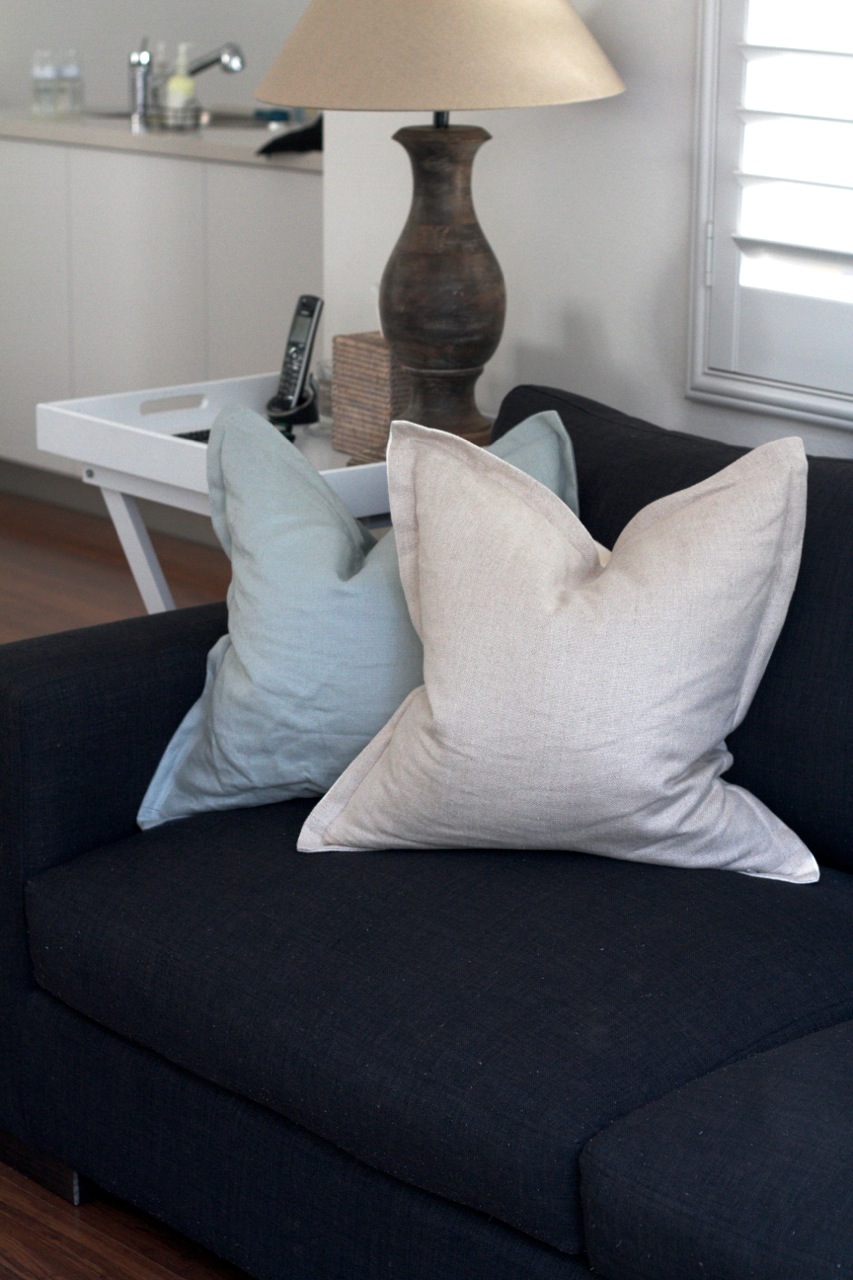
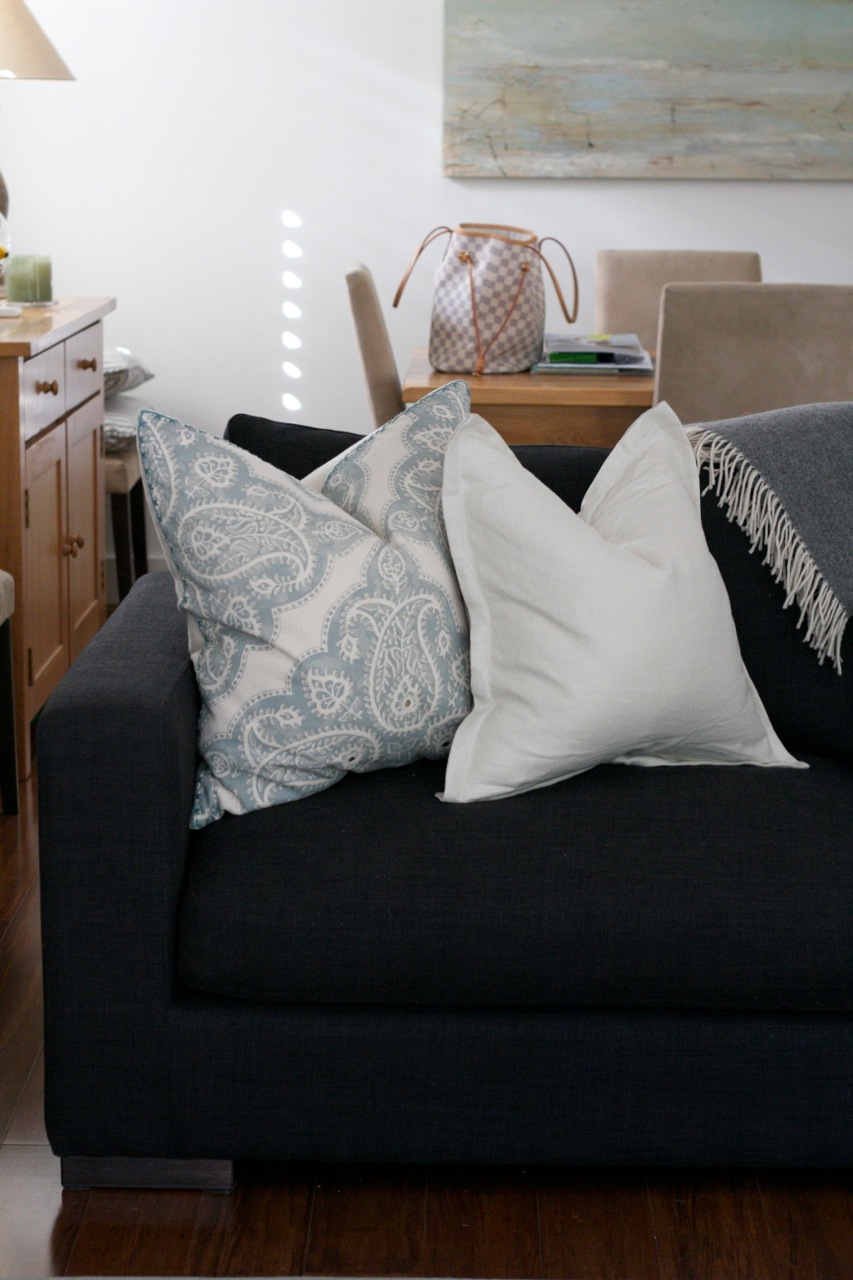
The Product: We wanted linen as we like the feel and look. It’s a smart, elegant and classic fabric. I was trawling around the web one day and knew pottery barn did great reasonably priced cushions so had a look and really liked these… thankfully I am near Bondi Junction so was able to head in store to have a look. They were going to work so I needed to work on cushions to compliment it. I went for this one first…

I bought both cushions and took them home to try them… knowing I could return them if I got it wrong and head back soon to get the balance… When I got them home…. they worked!!! YAY! Now to work out the configuration of what I wanted/needed. YIKES!

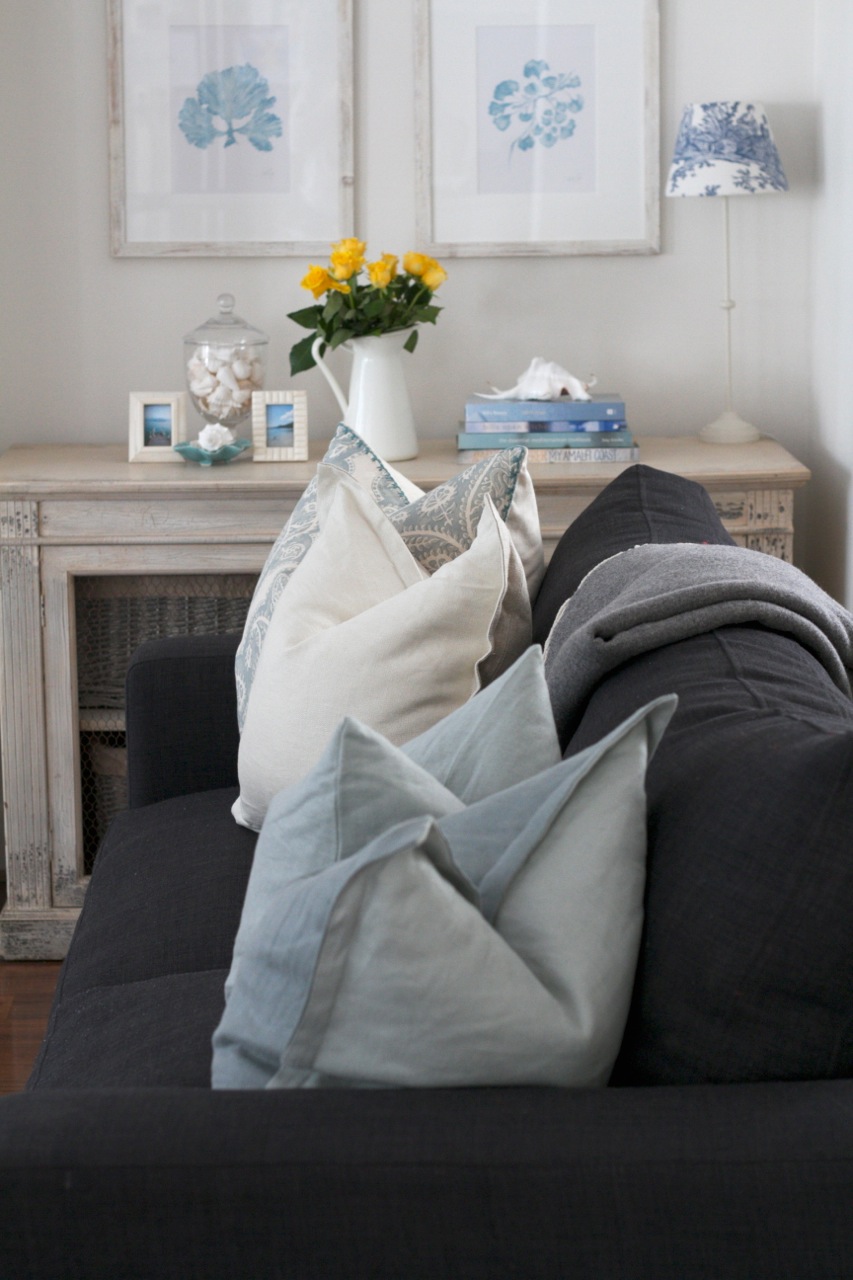
The Result: I went back the following day and discovered these…. they were beautiful and were double sided…  I was a little unsure about that at first but love them now as they offer more depth in the colour combinations and more configuration choices and are tonally complimentary.

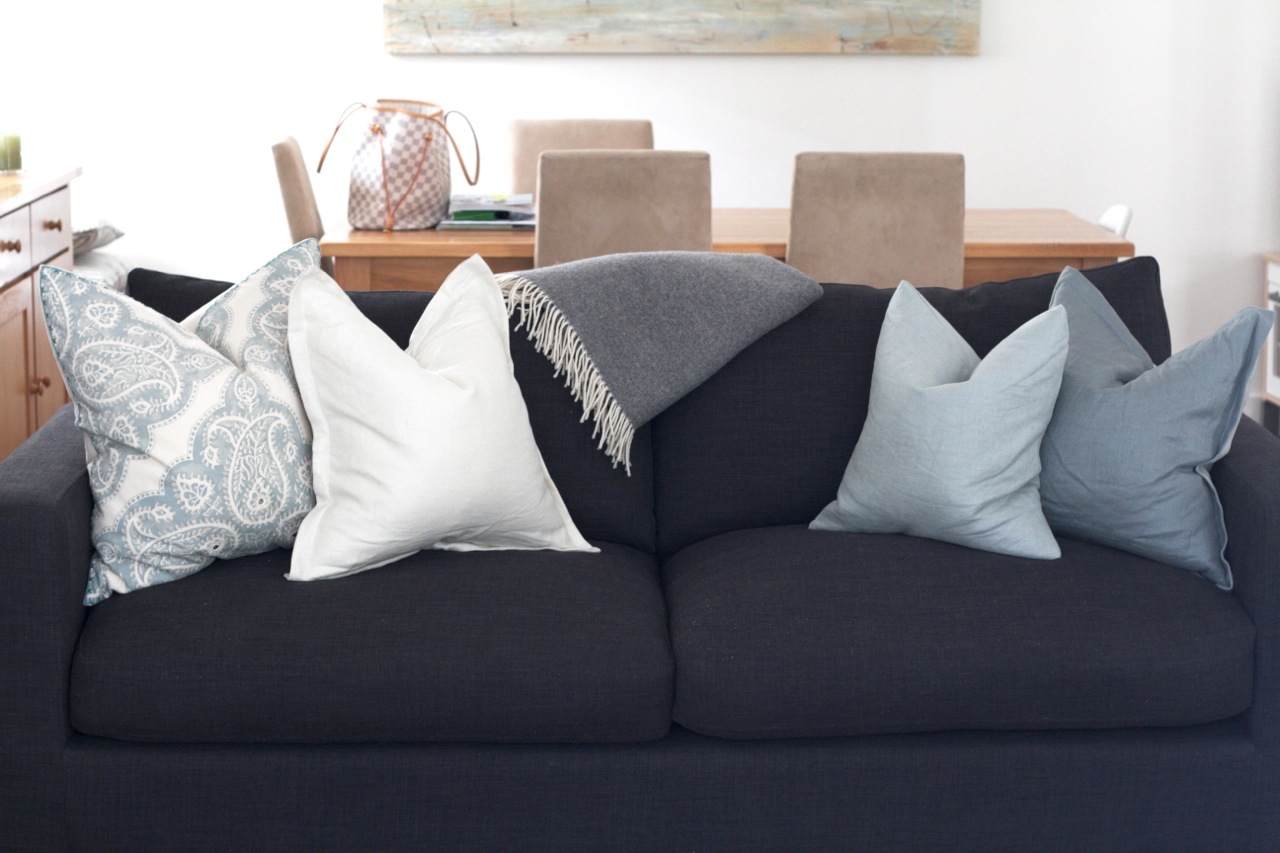
I am typically a symmetrical person but really wanted to step out and try and mix it up so we went for 3 on each couch… 1 big and 2 middle size. When I got home I still had the small one here and put it on the couch too and thought it worked so I kept it… we have 4 on one and 3 on the other… I recently read in Jason Grant’s new book that items are best grouped in pairs, odd numbers or even fours… so it’s a win/win!! Who knew!

IMG_3141-1 IMG_3145-1 IMG_3148-1 IMG_3150-1 A little part of the world - mini couch makeoverSide note: When buying from pottery barn you do need to buy the inserts. This is an initial larger outlay but they don’t change their cushion sizes so you can update your look by replacing the cover and reusing the insert for relatively little cost down the track.

Is linen your fabric of choice? Did you know about pairs, odds and fours? Think they’re too big for the couch like my husband does?

Jx

DIY: chic and affordable children’s artwork…

I made these when I was pregnant with E. I looked around on the web and couldn’t find exactly what I wanted (an initial on a canvas) and what I did find wasn’t quite right or not in the right colours. So, I decided to make my own and this is what the finished product looks like…

Cheap and Chic homemade children's artwork... Cheap and Chic homemade children's artwork... Cheap and Chic homemade children's artwork... Cheap and Chic homemade children's artwork... Cheap and Chic homemade children's artwork... Cheap and Chic homemade children's artwork...
I bought my supplies at Eckersley’s and Spotlight. I have provided links below for each item you need for the project.
To make these you will need…

  • Canvas
  • Letter or any other decorative item. More letter’s here
  • Paint – minimum of two colours – one for the canvas and one for the initial / decorative item. You could use as many colours as you want if you want a rainbow effect or just something more colourful. The sky is the limit. I used acrylic paint but I think any paint would do. Depending on how many you are doing you won’t need much. Some more options here and here.
  • Glue
  1. Paint the canvas – I gave it a base white coat (in hind sight I don’t think this is necessary) and then two coats of colour. Allow it to dry in between coats. Most paints come with instructions of time recommended left between coats.
  2. Paint the letter – I gave it at least two coats. Just judge for yourself what the coverage is like and stop when you are happy.
  3. When everything is dry line the initial up on your canvas where you would like it and very lightly with a pencil mark some small guidelines.
  4. Put glue on the back of your letter and place it carefully on the canvas being sure to look for your guidelines. apply some pressure for a little while to make sure the glue bonds.
  5. You’re all set to hang or place around your child’s room.

You could also do smaller versions, larger versions, fluro or glitter versions. Really the only limit is your imagination and your decor aesthetic.

I hope you have fun with this…

Have you made your own artwork before? Ever made something similar?

Jx

In Bathroom Mode…

Hello hello….

It’s been such a long time. This little blog of mine was on such a roll…. meaning I was consistent with my posts. Then… I fell pregnant, had horrible morning sickness, we did more renovations, had another baby and well…life was/is busier and this little blog went to the back burner.

I have decided I am going to work harder at posting more frequently. Posting what is relevant to me, things I like…basically all things life and style. It will be for me to look back on and maybe…just maybe…you will find it relevant and helpful too.

So…with that out of the way I turn to the issue at hand…. Our bathrooms and laundry.

It’s the final stage of our renovations. Yippppeeeee!! It’s going to be the messiest and the hardest seeing as I have two little people, it’s the bathrooms and laundry and we’re living through it.

Oh the decisions!!! It’s our first bathroom and laundry reno so we’re feeling a little cautious. We have a wonderful builder who we have worked with from day one with this house….now 2.5yrs ago (where does the time go!!) and N’s family are seasoned renovators so are a wealth of knowledge and invaluable sounding boards. Even still, we find ourselves nervous that our selections may not work and may not hit the mark we are aiming for. I have been trawling the web and magazines for inspiration and I will share some of these in a future post. We think we are getting close to a decision and I have a meeting with the builder to go through them this week and identify any issues and make any changes needed (fingers crossed there are none)

I have worked up a little inspiration collage in Polyvore and thought I might share it…

As you can see the colour palate is very neutral with grey’s and white. We are going for something that feels large, bright, fresh, classic and warm. Fingers crossed we are on the right track.

Thoughts and feelings you might want to share are more than welcome…

Jx

Bathroom Inspiration

Coastal Vignette Inspiration…

I’ve been looking around the web for some coastal vignette’s inspiration. I am filing these images away for future reference.  For when I want to change up our living room…

All images via Pinterest
Jx